Now regular readers will know that I have a gluten free version of this recipe here, but I somehow forgot to share the original recipe, so after a lovely family member requested it, I figured it was time to write it up :) I whipped one of these up for a family gathering over Christmas, and have fallen in love with it all over again!

Equipment
Food processor with blade attachment - for turning the biscuits into crumbs, you can use a freezer bag and rolling pin, but I prefer this way
20cm spring form tin - you can go larger or even a bit smaller, but ideally it should be spring form as removing the pie from the tin otherwise will be a nightmare
Microwave - for melting the butter
Mixing bowl
Electric whisk - good luck if you decide to whip cream by hand
Pestle - for pressing the biscuits into the tin, clean fingers or the back of a spoon can also be used
Spoon
Knife and Chopping board
Hob and Pot
Ingredients
1 405g tin of condensed milk (for those short on time, you can use the caramel version and skip boiling the tin)
100g chocolate chip cookies
200g digestives
150g butter
2 large (or 3 small) ripe bananas
284 ml double or whipping cream (I use elmlea double light as I like the cheese cake type texture/taste, and I can fool myself into thinking it's less calories)
1 flake
Method
Take a large pan and fill with water, bring to the boil. Remove the label from the condensed milk and then place into the boiling water. The whole tin must be submerged at all times (apparently it can explode if not covered!) so keep topping up. Simmer on a gentle boil for 2 hours 30 minutes.
Place the 250g of digestives, and the 100g chocolate chip cookies into the food processor and blitz into crumbs.
Cube the 150g butter and place in a microwavable bowl. Keep blasting for 30 seconds, then stir - repeat until fully melted.
Pour the melted butter into the biscuit crumbs and blitz to mix - you will need to use a spoon to ensure all crumbs from the bottom are included.
Place this buttery biscuit mix into the spring form tin, and press into place with the pestle (or clean fingers/back of the spoon). The mix should be even, with a level surface. Place back into the fridge for at least 30 minutes.
Once the time has passed for the condensed milk, carefully remove the tin from the heat and place in cold water to cool for about 10 minutes.
Once cooled, open the tin and place the contents into a bowl. Stir to incorporate any uncaramelized (lighter coloured) bits, and then set aside.
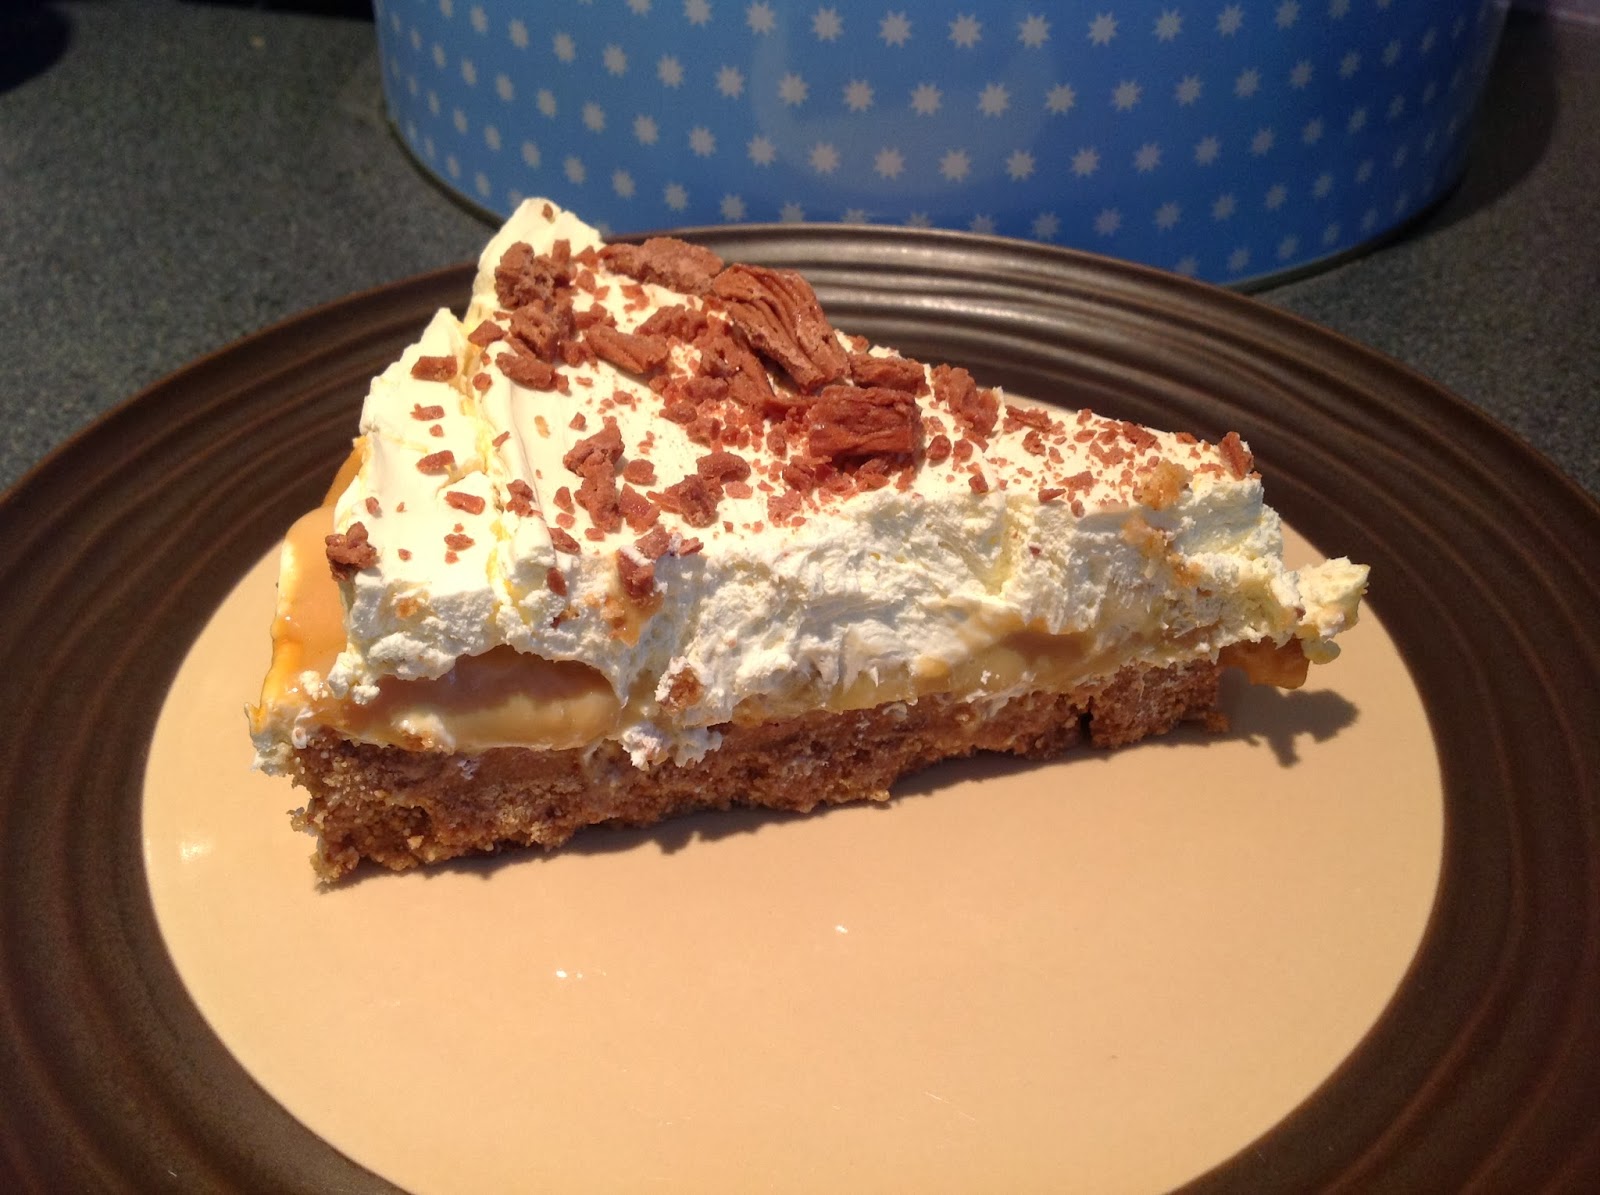
Slice up the bananas and layer them on the biscuit base.
Pour the condensed milk caramel over the biscuits and level off the top - place back in the refrigerator for 20 minutes to firm.
Whip up the cream and then spread on top of the caramel.
Bash up the chocolate flake and sprinkle on top of the cream
The pie should be kept in the tin, in the fridge until just before serving.
To remove from the tin, place a food tin (baked beans etc) underneath the spring form tin, in the center. Carefully work the sides of the tin down, moving from section to section, a bit at a time. Eventually the sides will come away leaving you with the pie resting on top of the tin base.
Be careful, as the caramel will start to seep out of the sides without the support of the tin - it is best to eat it immediately, or at least place on a large plate to catch any caramel spills.
Enjoy!
Comments
Post a Comment